If you are wondering how to remove old window tint, the clear answer is that you can safely do it at home with heat, steam, patience, and gentle cleaning tools. You do not need harsh chemicals or costly help to strip faded or bubbling film from your house windows. This guide shows you the best way to remove tint from windows, explains what makes it tricky, and helps you finish the job without damage. When done right, your glass will look fresh and ready for a brand-new, energy-efficient tint upgrade from Tint Solutions Tennessee.
Understanding Why Homeowners Remove Old Window Tint
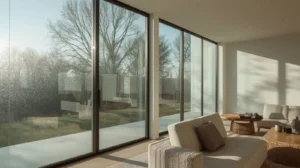
Window tint plays a big role in keeping homes cool, comfortable, and private. But after several years, the tint that once looked perfect may begin to show signs of age. The film can bubble, peel at the corners, or turn cloudy. The once-clear view can look hazy or blotchy.
Old window tint also loses its effectiveness over time. It may no longer block sunlight or reduce heat like it used to. Some homeowners remove it because the color no longer matches their décor. Others want to switch to modern films that look cleaner and last longer.
No matter the reason, removing old tint helps your home feel newer, brighter, and cleaner. It clears away the old film so light can pass naturally again, preparing your glass for the next upgrade.
The Right Way to Approach Window Tint Removal at Home
Before diving in, it’s important to have the right mindset. Tint removal is not a project you rush through. Think of it as a careful refresh for your windows. When done gently and patiently, it can leave your glass spotless and smooth.
Start by creating a clean, organized space. Move furniture away from the window and spread a few towels to protect your floors. Make sure you have easy access to power outlets for your steamer or hair dryer.
Next, open the windows slightly for airflow, especially if you are using warm air or cleaning solutions. Fresh air helps reduce moisture and ensures a safer, more comfortable process.
The more time you take preparing, the less time you’ll spend cleaning up later. A little planning can make your tint removal feel effortless and even satisfying.
Is It Hard to Remove Window Tint? What to Expect Before You Start
Homeowners often ask, is it hard to remove window tint? The honest answer is no not if you use the right tools and take your time.
Removing old tint is mostly about loosening the film’s grip on the glass. Over the years, the sun and temperature changes cause the tint to dry and cling more firmly. So, the main challenge is softening it gently enough that it peels away without breaking apart.
Expect to spend about 15 to 30 minutes per window, depending on size and condition. Larger windows or older films might take longer. But you can treat it like a weekend project a few hours of light work that brings a big visual improvement to your home.
Best Way to Remove Tint from Windows Without Damaging Glass
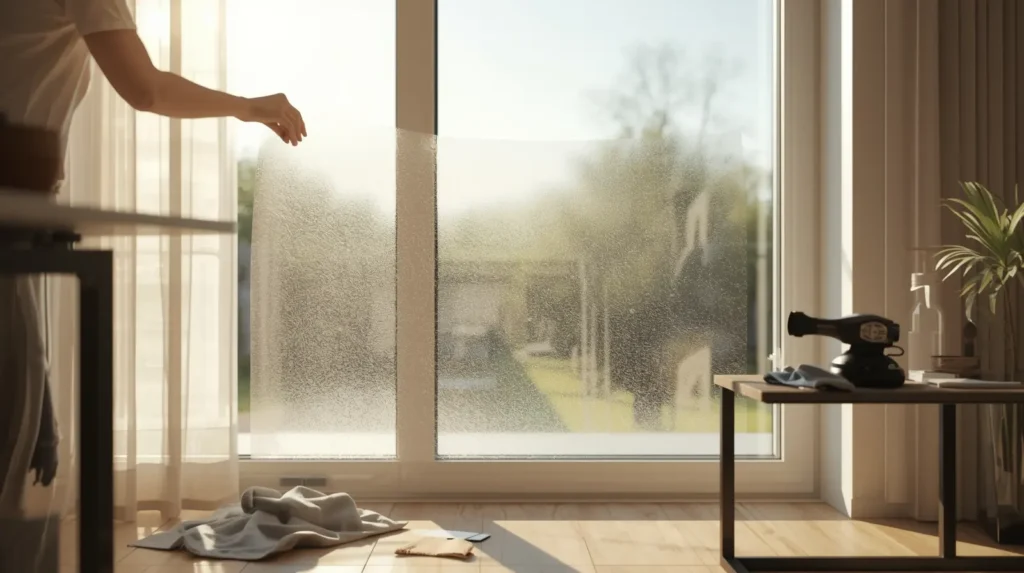
The best way to remove tint from windows is to use steady heat and gentle lifting. This allows you to peel away the film without scratching or tearing it.
Here’s a safe method used by many professionals:
- Warm the surface. Use a household hair dryer or small handheld steamer. Keep it a few inches from the glass and move slowly to warm the film evenly.
- Lift a corner. Use your fingernail or a plastic card to gently pull up one edge of the tint.
- Peel slowly. Keep applying warm air as you pull the film off at a low angle. This prevents tearing and reduces leftover residue.
- Clean the window. Once the film is gone, use a soft cloth with soapy water or vinegar solution to clean the surface.
This approach is simple, safe, and inexpensive. You do not need any chemicals or special solutions. Just patience and consistent heat.
How to Remove Old Window Tint Step-by-Step (Home Use Edition)
Here’s a detailed step-by-step guide for homeowners who want to refresh their windows safely and effectively.
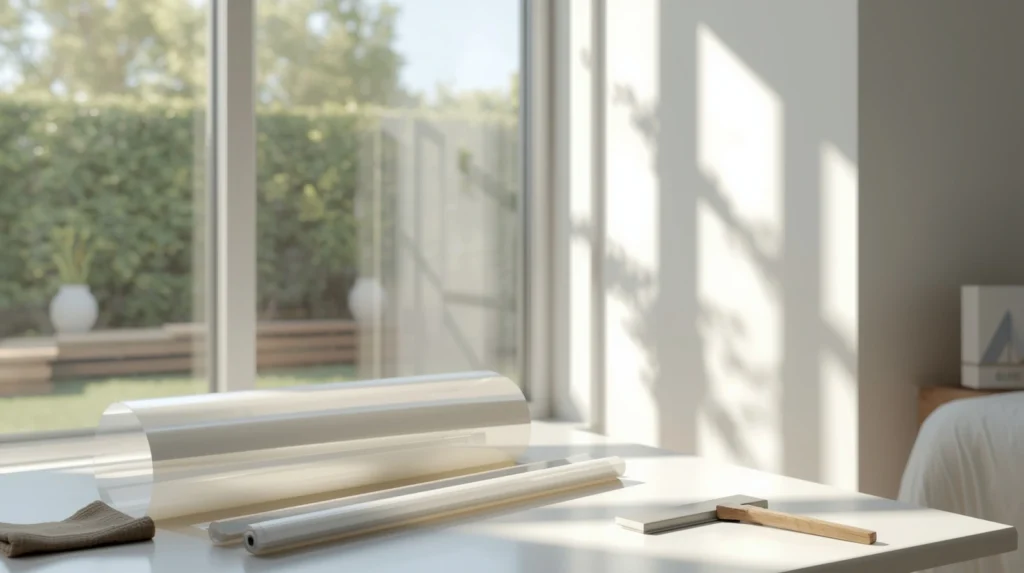
- Gather your tools. You’ll need a hair dryer or steamer, a plastic scraper or card, spray bottle, clean towels, and microfiber cloths.
- Prepare the space. Lay towels along the window sill to catch moisture and debris. Remove curtains or blinds for easy access.
- Heat the film. Turn on your hair dryer and warm the tint slowly until it softens. Focus on one corner first.
- Start peeling. Once the corner loosens, gently lift and pull. Use your other hand to continue heating the area as you peel.
- Work in sections. If the tint tears, start a new corner and repeat. Don’t force it. The key is steady, even pressure.
- Clean the surface. Mix equal parts warm water and white vinegar in a spray bottle. Spray the glass, then wipe it clean with a microfiber cloth.
- Inspect and dry. When finished, look for streaks or cloudy spots. Wipe again until the glass shines.
Following this slow, careful process gives you professional-level results and makes your windows look almost new again.
How to Remove Window Tint Glue and Sticky Residue Easily
Once you’ve peeled off the film, you may find a few sticky areas left on the glass. Don’t worry this is common. The best way to clean them is with household ingredients that are gentle and safe.
Here’s how:
- Spray a mixture of warm water and vinegar on the sticky area.
- Wait a minute or two for it to soften.
- Use a microfiber cloth or plastic card to wipe in circular motions.
- Rinse with water and dry with a clean cloth.
This method is non-toxic, safe for window frames, and leaves no smell. Most homeowners find it works even better than store-bought cleaners.
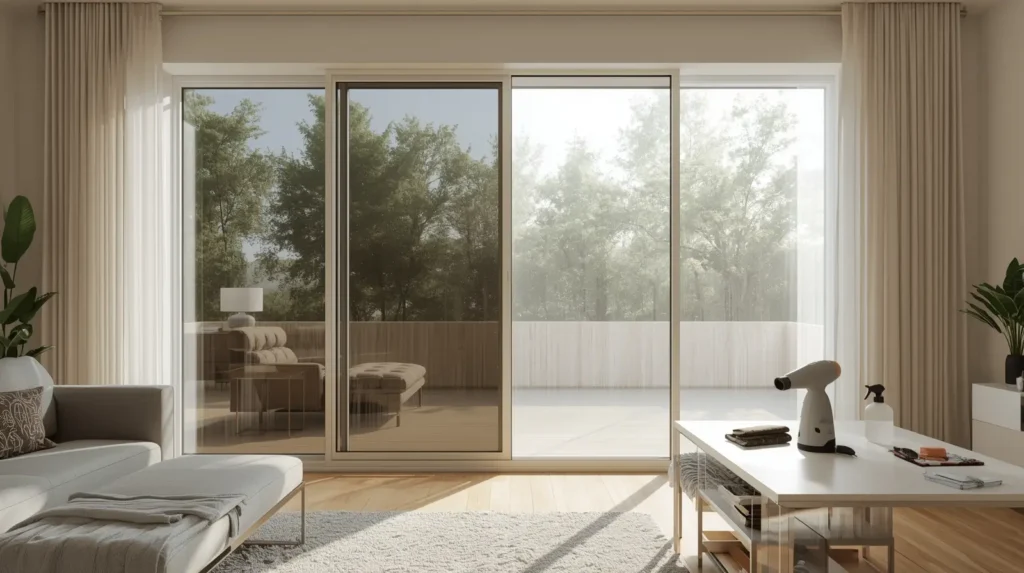
Tools and Materials You’ll Need for a Smooth Window Film Removal
You don’t need professional tools to do the job well. Everything required is simple and affordable. Here’s a quick checklist:
- Hair dryer or handheld steamer
- Spray bottle filled with warm water and vinegar
- Microfiber cloths
- Plastic scraper or old gift card
- Soft towels for cleanup
- Bucket of mild soapy water
Optional items like gloves or a ladder can help if you’re cleaning tall or hard-to-reach windows. Keep everything nearby so you don’t have to stop midway.
Common Mistakes to Avoid When Removing Old Window Tint
Even though tint removal seems simple, many people make small mistakes that slow them down. Here are some to avoid:
- Using sharp tools. Metal blades can easily scratch glass. Always stick to plastic edges.
- Skipping the heat. Cold film cracks or breaks into tiny pieces. Warm film peels smoothly.
- Rushing the job. Pulling too hard or too fast will tear the tint. Slow, steady motion saves time overall.
- Ignoring corners. If small bits are left behind, they can harden and become more visible over time.
- Forgetting to dry the window. Moisture that remains near edges can attract dust or streaks.
Avoiding these mistakes helps you get a clear, clean finish that looks like new.
When to Replace Window Film After Removal
After removing old film, your windows will look shiny and open again. However, clear glass also means more sunlight and heat coming in. That’s why it’s smart to plan your replacement tint soon after removal.
Modern home tints are far more advanced than older ones. They block heat while keeping natural light, improve privacy, and help reduce glare. More importantly, they protect furniture and flooring from fading.
Replacing your film right away ensures your home stays energy-efficient and comfortable year-round. And since your glass is freshly cleaned, it’s in perfect condition for a new installation.
Why Professional Home Window Tinting Adds Long-Term Value
Professional tinting is not only about looks; it’s about performance. A high-quality tint can reduce energy bills by keeping your home cooler in summer and warmer in winter. It protects interiors from harmful rays and adds privacy without closing off natural light.
DIY film kits often look uneven or bubble over time because they lack professional-grade materials and proper installation. Professionals use smooth-application tools, clean-edge methods, and quality films designed to last more than a decade.
Working with an expert also saves you from frustration. You won’t need to guess how to align film edges or worry about trapped air. Each pane is measured and applied with precision, giving a seamless, crystal-clear appearance.
When installed correctly, window tint becomes an invisible shield for your home stylish, energy-saving, and easy to maintain. This is why so many homeowners trust Tint Solutions Tennessee for their window tinting upgrades. They bring years of experience, precision craftsmanship, and dedication to lasting results that look beautiful from every angle.
Transform Your Home Windows with Tint Solutions Tennessee in Nashville
After you’ve removed old window film, your windows are a clean slate ready for something better. Whether you want to block heat, reduce glare, or create privacy, a new tint can instantly change how your home feels.
Modern tint designs are sleek and subtle. They complement natural light instead of dimming it, and they make rooms look polished and inviting. Best of all, the benefits go beyond appearance you’ll notice cooler rooms, softer lighting, and lower utility costs almost immediately.
If you’re unsure which tint works best for your home, a consultation can make all the difference. Professionals can help you choose the right shade and transparency based on your goals, whether that’s more privacy, energy efficiency, or UV protection.
Tint Solutions Tennessee provides expert advice, custom-fit installation, and high-quality materials designed for lasting beauty and performance. You’ll enjoy the comfort, style, and peace of mind that come from working with true specialists who care about every detail.
Your home deserves clarity and comfort. If your windows are ready for an upgrade, reach out to Tint Solutions Tennessee today. Our friendly team can guide you through modern tint options that match your home’s style, improve efficiency, and enhance year-round comfort. Start your journey toward brighter, cooler living your home will thank you.